This post contains Amazon affiliate links.
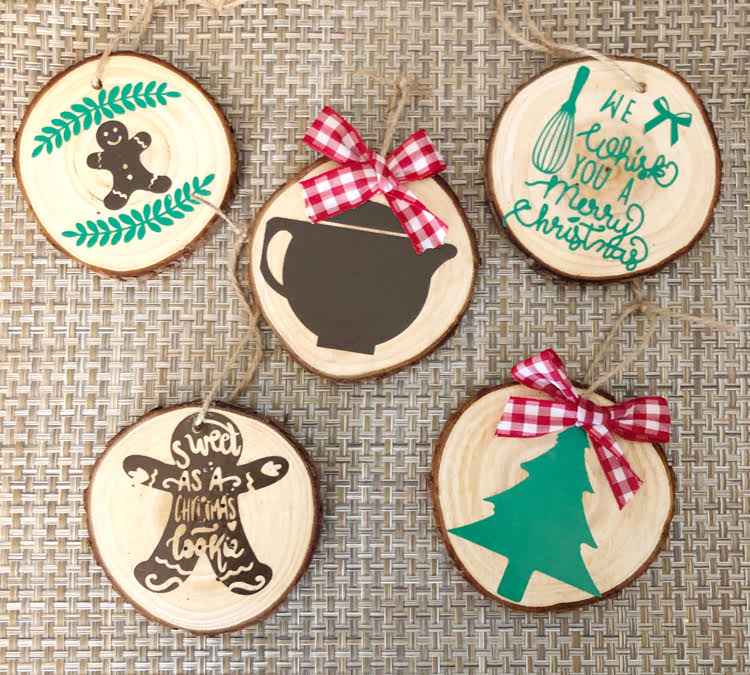
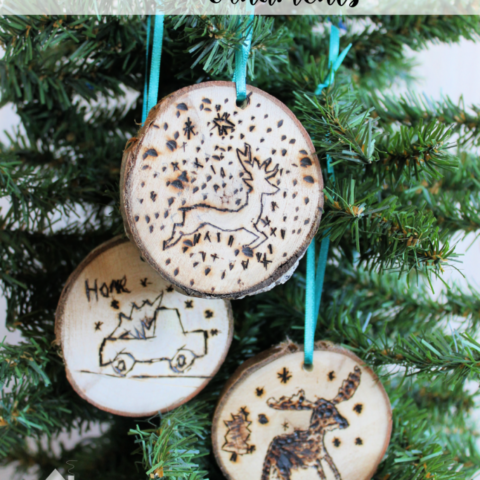
Today I am sharing a tutorial on how to make DIY wood slice Christmas ornaments (using a Silhouette Cameo machine) in today’s Festive Christmas Ideas blog hop. Today my blogging friends and I are sharing DIY Christmas ornament ideas!
My blogging friends and I will be sharing new Christmas ideas every Monday and Wednesday through November 19 for the hop, so be sure to check back here each week!

How to Make DIY Wood Slice Christmas Ornaments
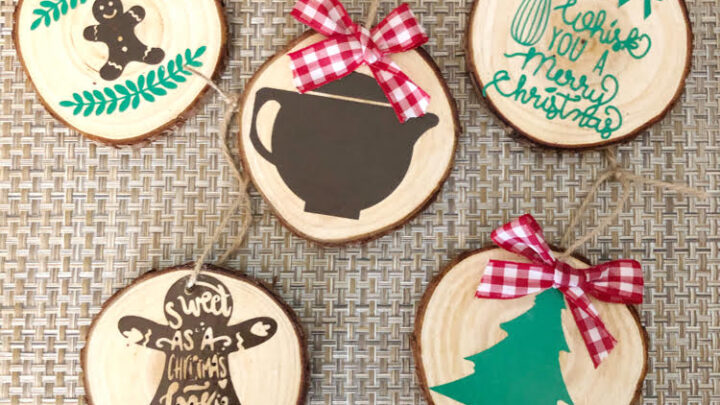
My husband bought me a pretty vintage Christmas ornament stand on a family weekend trip several months ago. We visited a few small towns in Pennsylvania and shopped in some thrift shops. When he spotted my 1950s ornament stand, he knew I’d love it! (I’ll be sharing that ornament stand in the Christmas Trees on Parade blog hop on November 19.) I plan to put that ornament stand in my kitchen, so I made some kitchen themed DIY wood slice Christmas ornaments for that ornament tree. I think it will be fun to have a Christmas “tree” just for the kitchen!
I used my Silhouette Cameo vinyl (and paper, etc.) cutting machine to make the designs that I added to the DIY wood slice Christmas ornaments. (You can get the Wood Slices
I used on Amazon.) It’s actually my first Silhouette project, even though I got my Silhouette machine more than 2 years ago! It took me a while to get the courage to use it.
To create my designs, I simply hit the “Store” tab in my Silhouette software, and browsed the designs available from Silhouette. Each design was inexpensive, with most items only costing 99 cents. It was easy to purchase the designs I liked and open them in the design area of the software. (I found the designs I purchased in the library section of my Silhouette software.)
I sized each design to fit my ornament, picked vinyl as my medium, and sent the designs to be cut on my Silhouette machine. I was so happy when I successfully cut my first design! ( I am only just learning how to use the Silhouette Cameo machine.)
Learning how to use my Silhouette Cameo machine for this project was quite easy. I was able to find some video tutorials on YouTube that taught me the basics of how to use the vinyl cutting machine.

It only took a few simple steps to make my ornaments. These are the steps I took:
1 – Choose and purchase a cut file/design from the Silhouette store.
2- Size the design in the Silhouette software on the computer and send it to the machine to be cut.
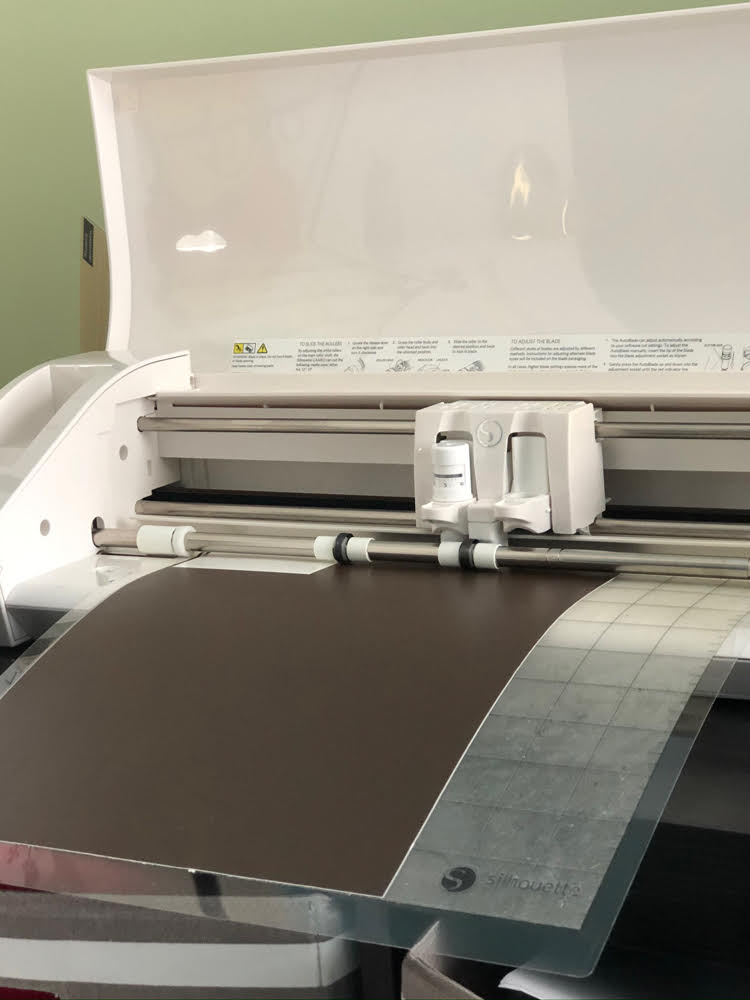
3. Weed the design using the tools that came with the Silhouette machine. (Weeding is removing the excess vinyl from your design so only the vinyl in your design remains.)
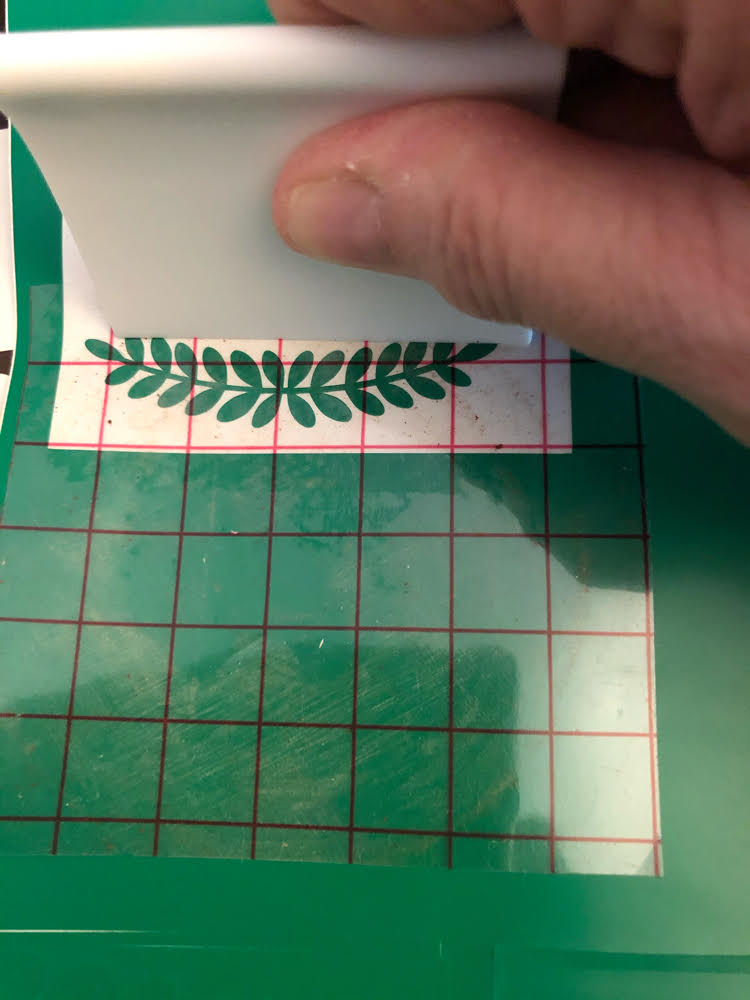
4. Press a piece of transfer tape firmly against a weeded design. Use your flat-edged Silhouette tool (I don’t know what it’s called) to rub against the transfer tape so it adheres to your design. (If you don’t have this tool — see it below — you can use a credit card.)
5. Press the transfer tape (with the design stuck to it) firmly in place on a wood slice ornament. Rub firmly over the design with the Silhouette tool. Carefully remove the transfer tape.
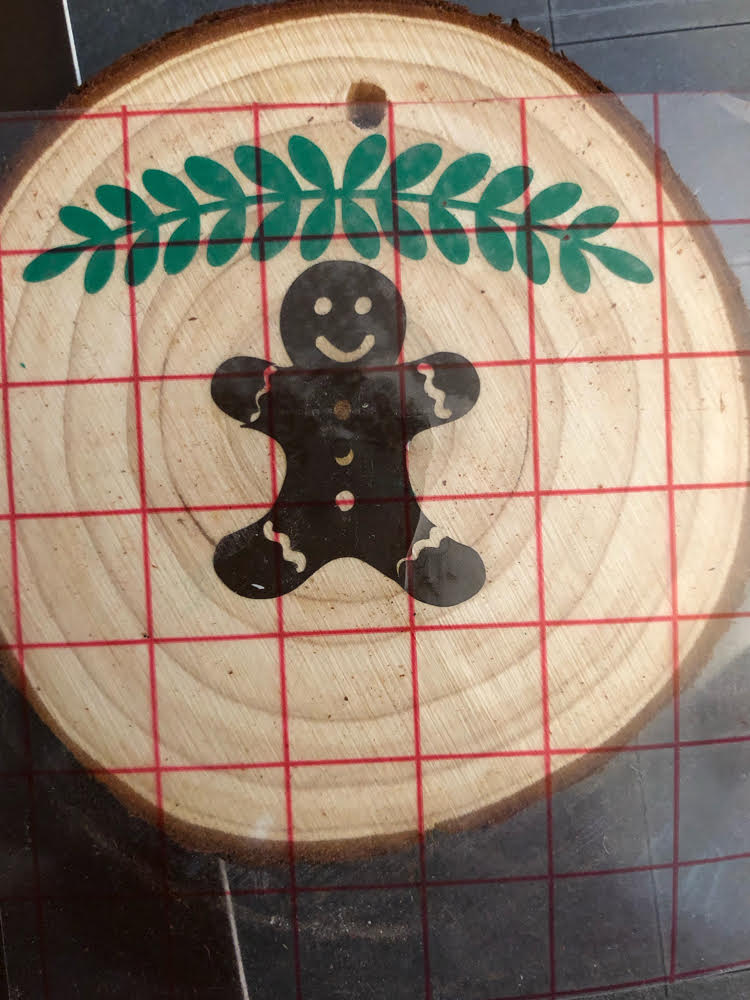
6 – Apply a layer of Mod Podge over the vinyl design and the ornament.
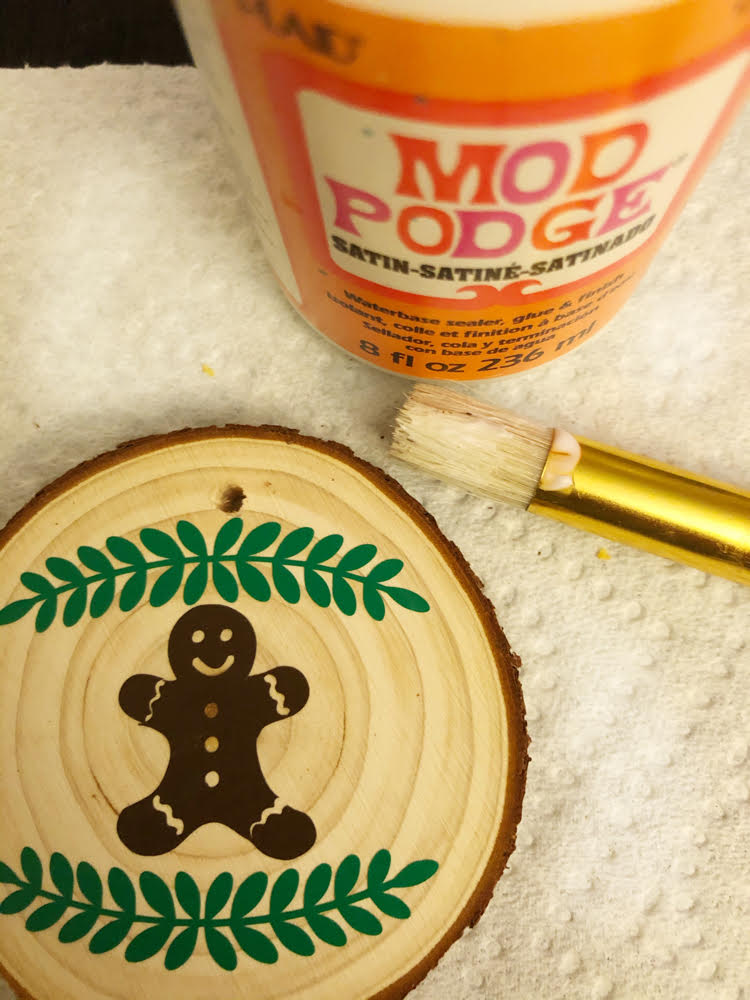
Applying the Mod Podge is extra insurance that your design will stay in place.
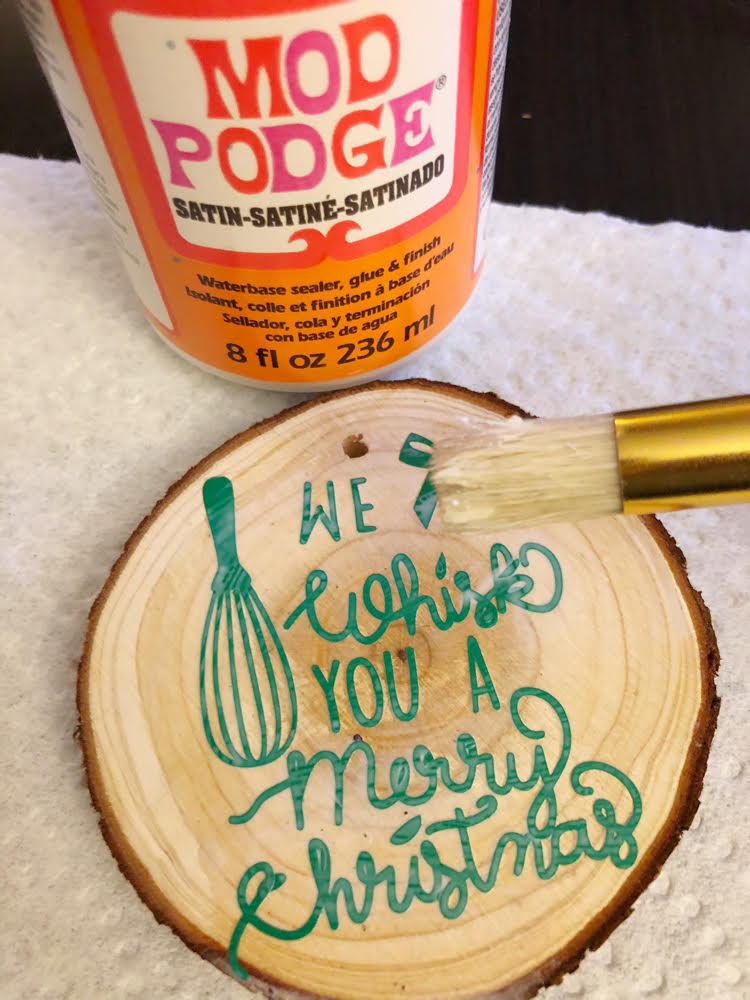
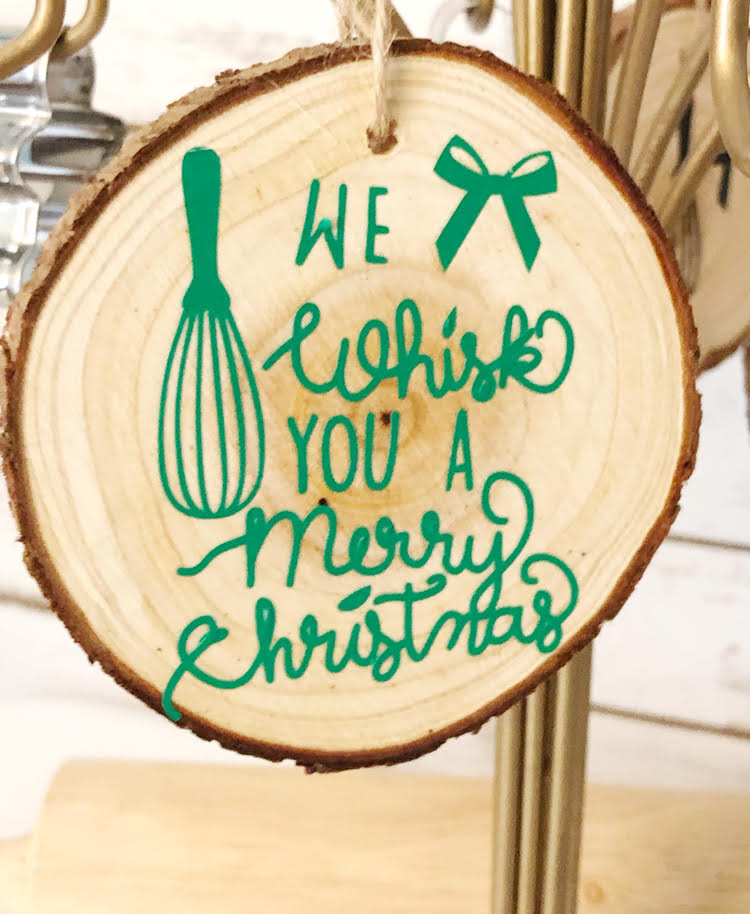
7 – Add a strand of twine through the ornament hole and knot the twine.
8 – If you wish, add a small bow to your ornament. (I tied my bows with some leftover ribbon I had and used a glue gun to hot glue them to the ornaments.)
As you can see, this is really a simple project!
Pin This Project to Make Later!
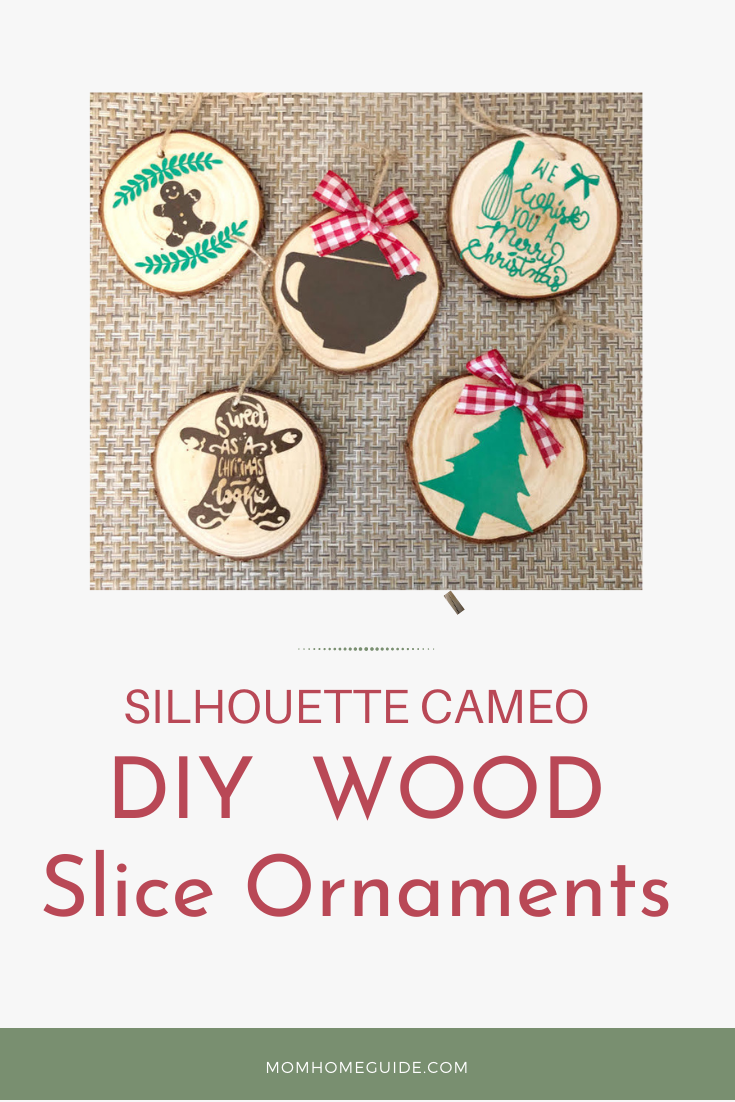
Check out these fun DIY ornament ideas!
Other DIY Christmas Ornament Ideas
Check out this collection of beautiful and fun Christmas ornaments you can make yourself.









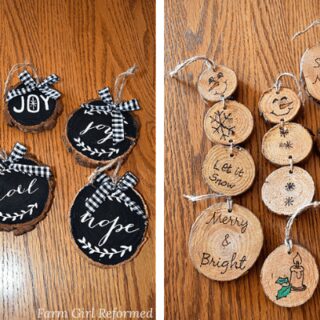


[…] am going to display the ornament tree in my kitchen this year, so I decided to make kitchen-themed wood slice ornaments with my Silhouette machine for the tree. Cutting the vinyl for these ornaments was my first […]