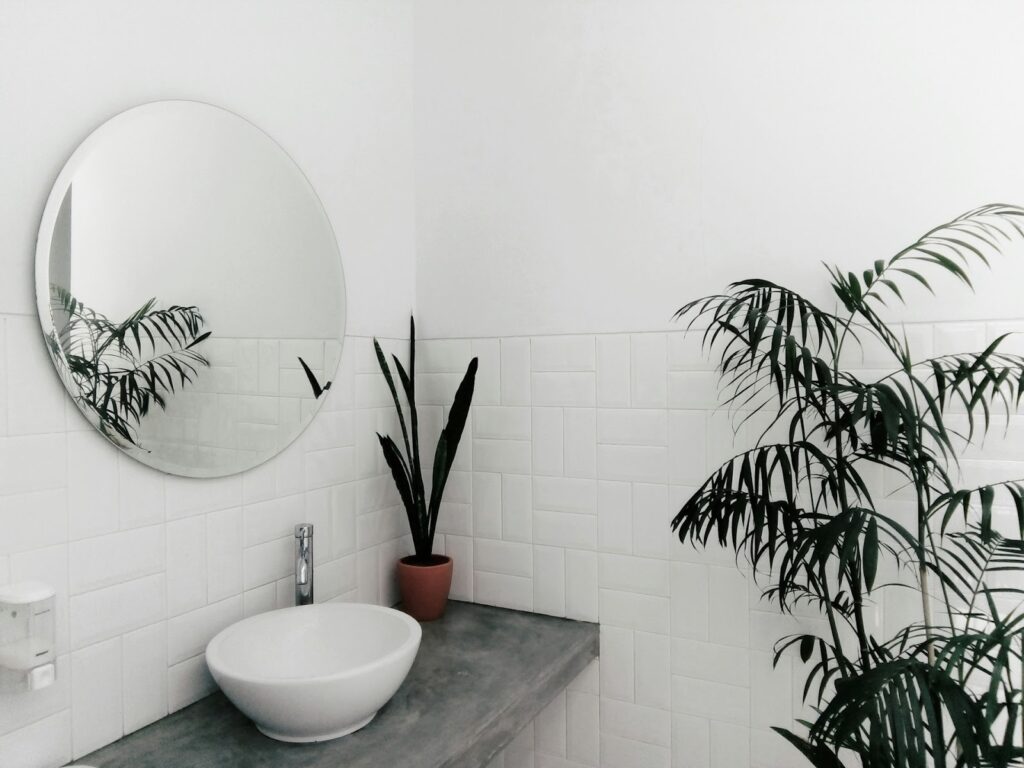
A frameless mirror can be a perfect addition to your small bathroom. First, it’s a lot easier to clean (frames tend to gather dirt grime), and it will blend in better with the background, especially against a tiled backsplash.
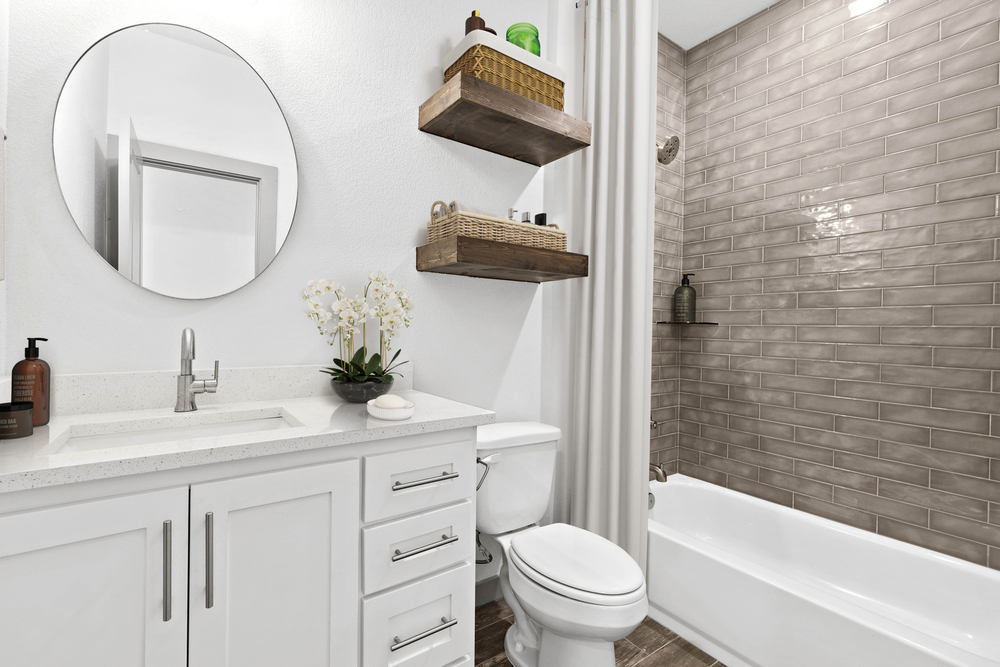
Because it has no frame, a frameless mirror will create a seamless look that can make a space look and feel up to 20% larger. It’s also stylistically neutral, so you can swap out bathroom hardware—faucets, towel bars, cabinet pulls—without worrying about it clashing. Think of it as the white T-shirt of home décor: simple, versatile and always in style.
The only tricky part? You need to mount it safely so nobody, especially kids or pets, don’t accidentally knock it over. Luckily, with a quick trip to the hardware store (or a few clicks online) and a little handiwork, you can keep that sleek frameless look without worry.
In this blog post, we’ll show you how to choose the right tools to hang your frameless mirror and teach you how to securely mount it on the wall.
The Shopping List
To ensure that your beautiful frameless mirror stays securely mounted to the wall, choose high-quality mirror clips. Opt for zinc or stainless steel rather than plastic, as metal options are far more durable and long-lasting. It’s also smart to select adjustable clips, which will allow you to fine-tune the mirror’s position if needed.
You can purchase mirror clips online, where you’ll find a wide range of models and designs. Overall, these clips grip the sides of your mirror while connecting the back to the wall. They’ll be close to the edge of the mirror, making them barely visible, maintaining the frameless design.
You’ll also need heavy-duty drywall anchors to secure the clips into hollow drywall. Look for EZ Ancor toggle bolts (great for heavy loads).
Prep and Installation
Now you’re ready to install a frameless mirror. If you’ve tackled any home renovation DIY project before, you know how easy it is to make small mistakes that turn into big frustrations—a cut slightly off or tiles that don’t quite line up will stand out every time you walk into the room. Careful measuring will make all the difference.
Start by locating the studs in the wall with a stud finder. Mark each stud lightly with a pencil. If a stud lines up with where a clip will be installed, you can secure it with standard wood screws. If not, use hollow-wall anchors (the EZ Ancors we mentioned above) to ensure the mirror is safely supported.
Next, plan your clip placement. Use a level to draw a straight pencil line where the bottom edge of the mirror will rest. This ensures the mirror will sit perfectly straight. Position the bottom clips along this line—typically about 1/4 of the way in from each side for a standard square or rectangular mirror—and mark the screw holes. Use your drill to make pilot holes for the screws or anchors, then secure the bottom clips to the wall.
Carefully set the mirror into the bottom clips. Have a helper hold the mirror firmly and flush against the wall. While it’s in position, use a pencil to mark the top edge of the mirror and the exact placement for the top clips, making sure they align vertically with the bottom clips. Remove the mirror and set it aside in a safe location.
Drill pilot holes for the top clips (adding anchors if needed), then screw the top clips into place—leaving them slightly loose if they are adjustable. Finally, place the mirror back into the bottom clips and secure the top clips. Tighten everything fully with your drill or a screwdriver, then check with a level to confirm alignment and gently test for any shifting or movement.
Enjoy Your Mirror!
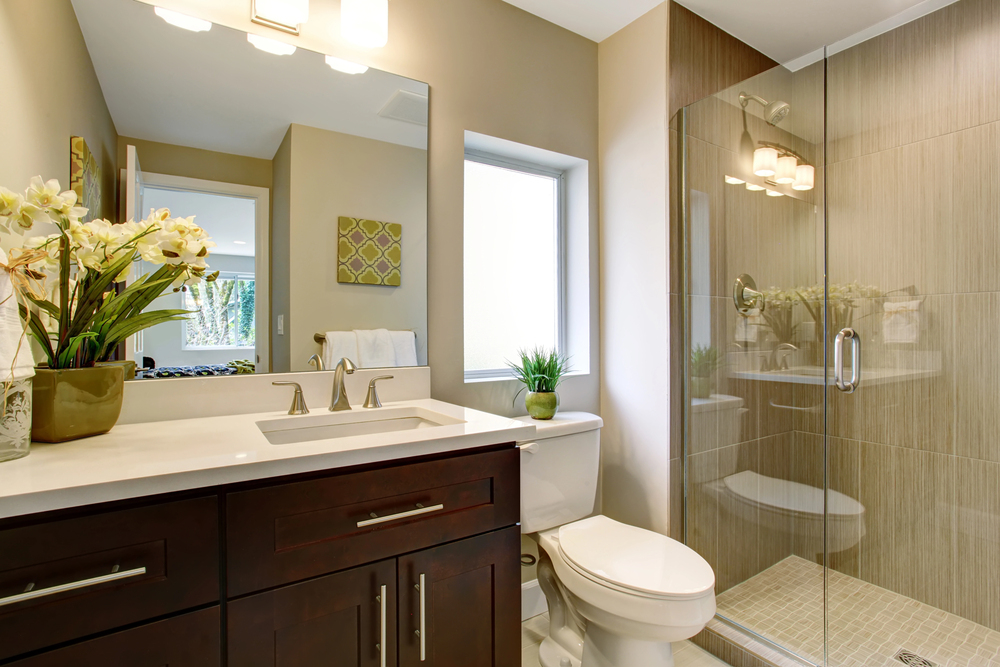
Photo courtesy of depositphotos.com
There you have it: with the right clips and a bit of handiwork, your frameless bathroom mirror is ready to shine for years to come.
Discover more from momhomeguide.com
Subscribe to get the latest posts sent to your email.